
Creating invoices in Plunet
If you have the corresponding right, you can create your own invoices in Plunet BusinessManager.
Once the project manager has set the status of your job to Approved, it will appear in your Dashboard under Approved – please create invoice.
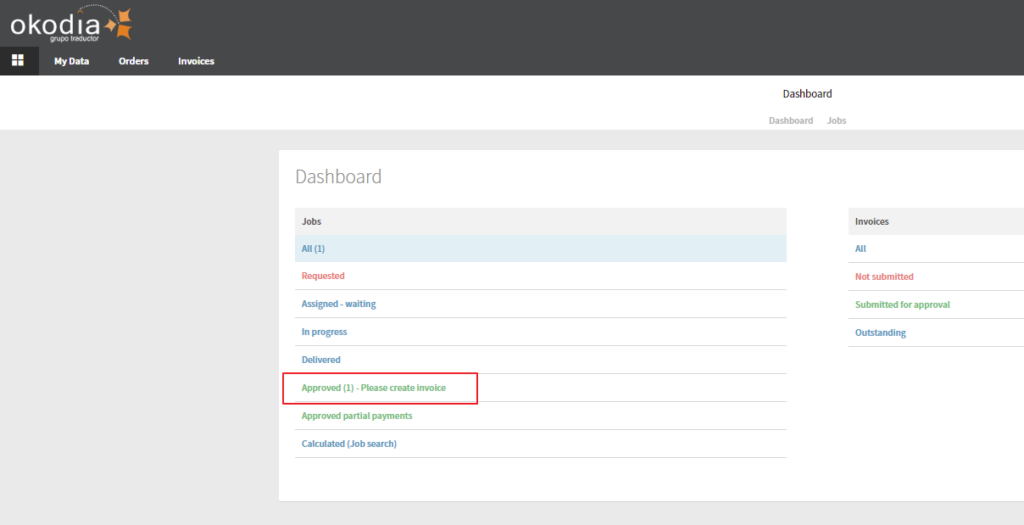
An invoice can be created by selecting the relevant jobs and clicking on Create invoice for approved jobs underneath the list of jobs:

If there are any discrepancies between the data in the system and your personal records, you should contact your vendor manager or project manager.
If you have worked on jobs in different currencies, only the jobs in the same currency can be invoiced together.
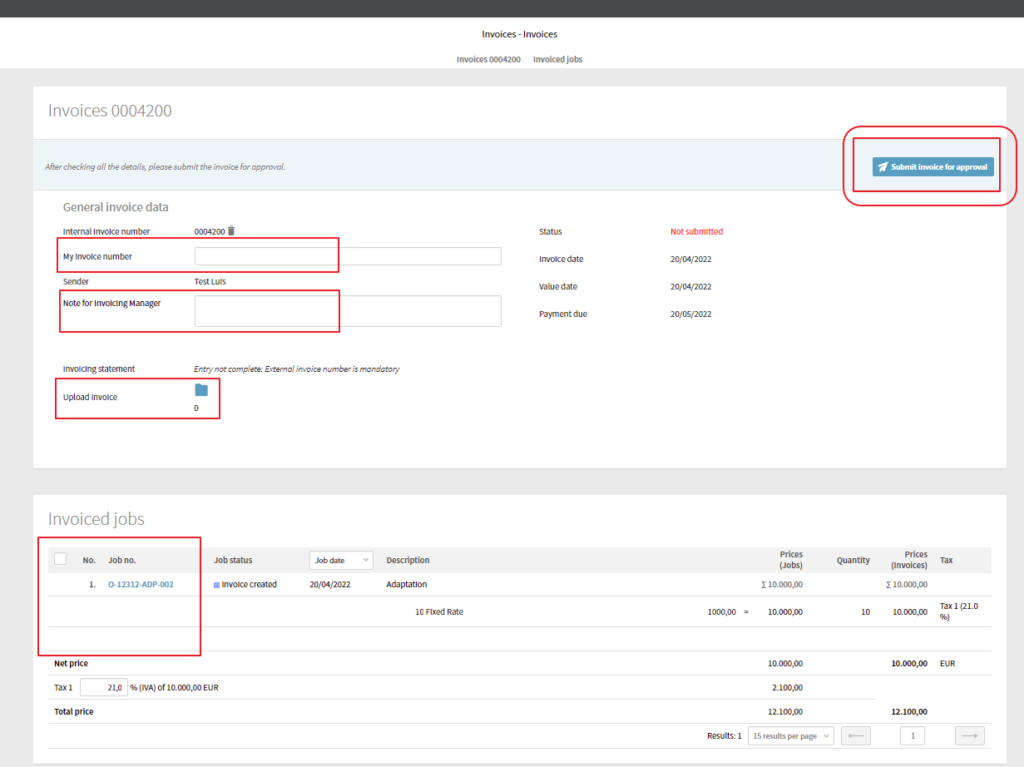
After clicking on Create invoice for approved jobs, a new invoice opens and you can enter/modify the required information. The status of the invoice is initially In preparation. You can also add any important information to your Invoicing Manager, that may be relevant for processing the invoice.
In the General invoice data section, you can enter your invoice number, the invoice date, and the Payment due date.
In the Edit invoice section, it is possible to delete individual jobs that are not supposed to be included in the invoice and modify quantities that deviate from the quantities entered when the job was created, e.g. words translated.
When you have entered all of the data for the invoice, click on Submit for approval. The status of the invoice changes to Created by external user and the invoicing manager will receive immediate notification.